Online Documentation Source for the FED System
Exporting a table in AirFact format to the production AirFact table
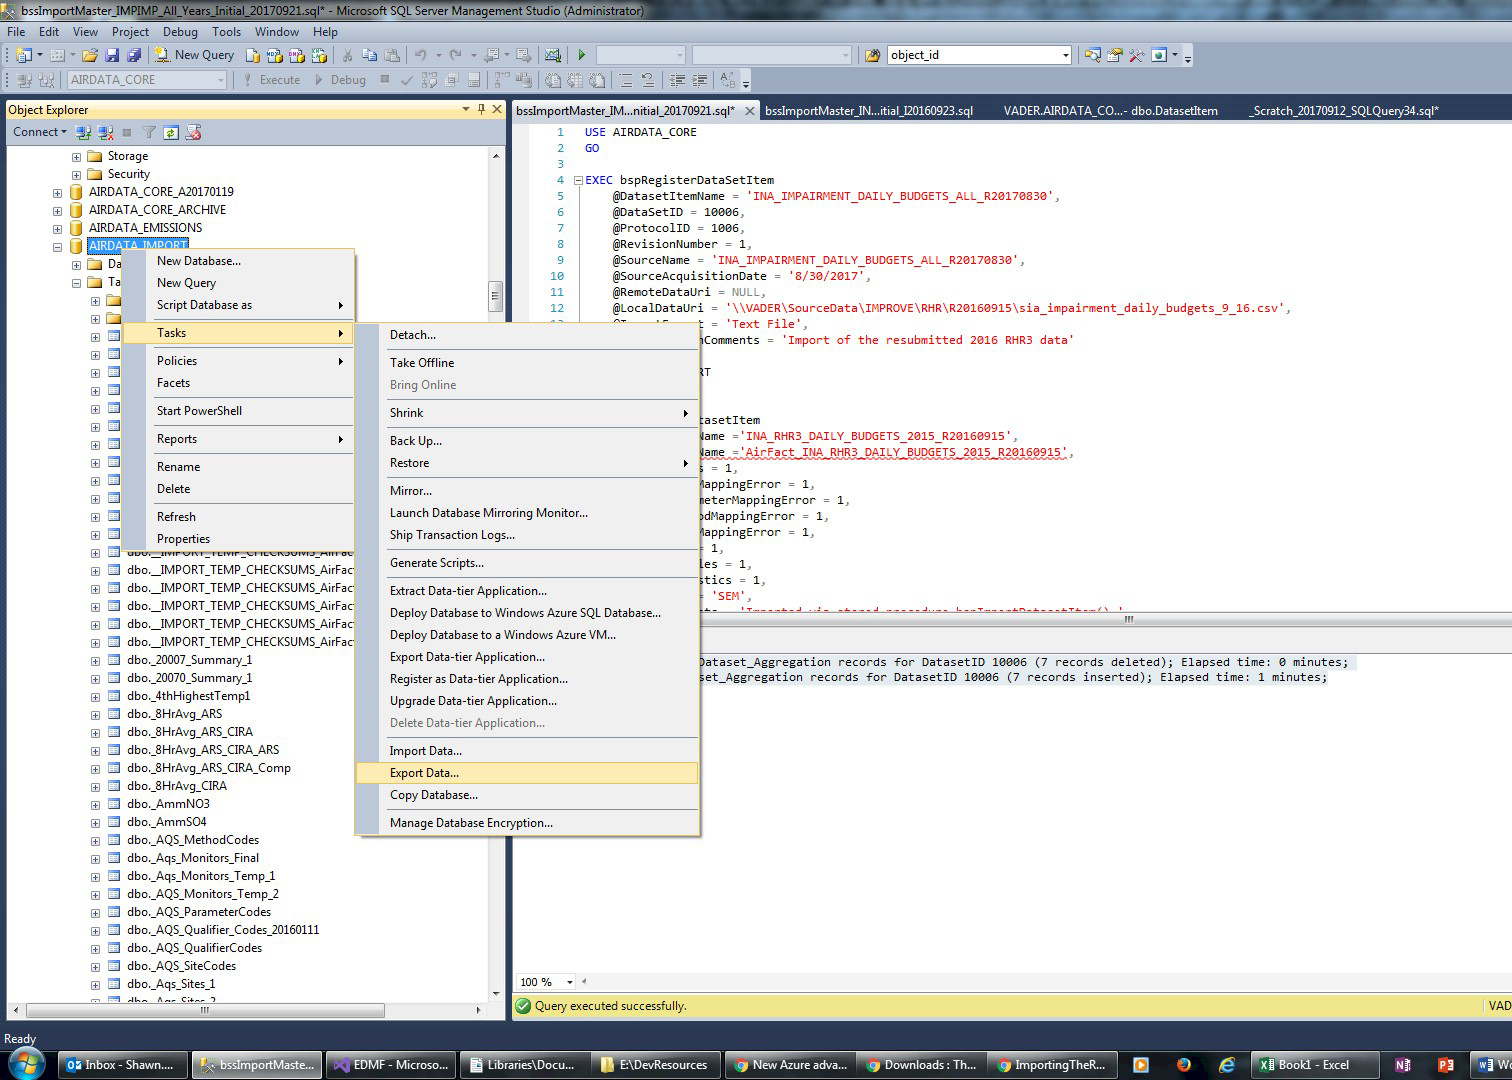
- Connect to the AIRDATA_IMPORT database.
- Open SQL Server Management Studio (SSMS).
- Connect to database server VADER (IP: 129.82.109.167).
- Expand the Databases item in the Object Explorer pane.
- Locate the AIRDATA_IMPORT database.
-
Right-click on the AIRDATA_IMPORT item and select Tasks --> Export Data... from the context menu to open the SQL Server Import and Export Wizard.
- Click Next > on the start page of the wizard, if shown.

- Complete the Choose a Data Source page of the wizard:
- Click the Data source: dropdown menu and select SQL Server Native Client 11.0.
- In the Server name: dropdown menu, type or select "VADER".
- Enter the appropriate credentials in the Authentication section.
- In the Database: dropdown menu, type or select "AIRDATA_IMPORT"
- Click the Next > button.

- Complete the Choose a Destination page of the wizard:
- Click the Destination: dropdown menu and select SQL Server Native Client 11.0.
- In the Server name: dropdown menu, type or select "VADER".
- Enter the appropriate credentials in the Authentication section.
- In the Database: dropdown menu, type or select "AIRDATA_CORE"
- Click the Next > button.

- On the Specify Table Copy or Query page, check the Copy data from one or more tables or views button and then click Next >.

- Complete the Select Source Tables and Views page of the wizard:
- Expand the wizard dialog enough so that you can clearly see the full table names in the Source column.
- Find the newly-created table (which must already be in AirFact format) in the Source column and check the box next to it.
- Click the Destination cell next to the selected table name and select the AirFact table from the in-cell dropdown menu.

- Click the Edit Mappings... button and verify that the source and destination fields are identical (with the possible exception of the ROWNUM field in the source table which can be safely <ignored>), then click "OK" to close the Column Mappings dialog. Finally, click Next > on the Select Source Tables and Views dialog.

- On the Save and Run Package page, check the Run immediately box and then click Next.

- On the Complete the Wizard page, double-check your choices and then click the Finish button.

- The Performing Operation... dialog will open and the table will be copied to the production AirFact table.
Depending on the size of the table being copied, the operation could take a few seconds to several hours. Note the <N> rows transferred message in the Status field of the Copying to AirFact item - it will show how many rows have been copied at any given time in order to give you an idea of how far along the transfer process is.